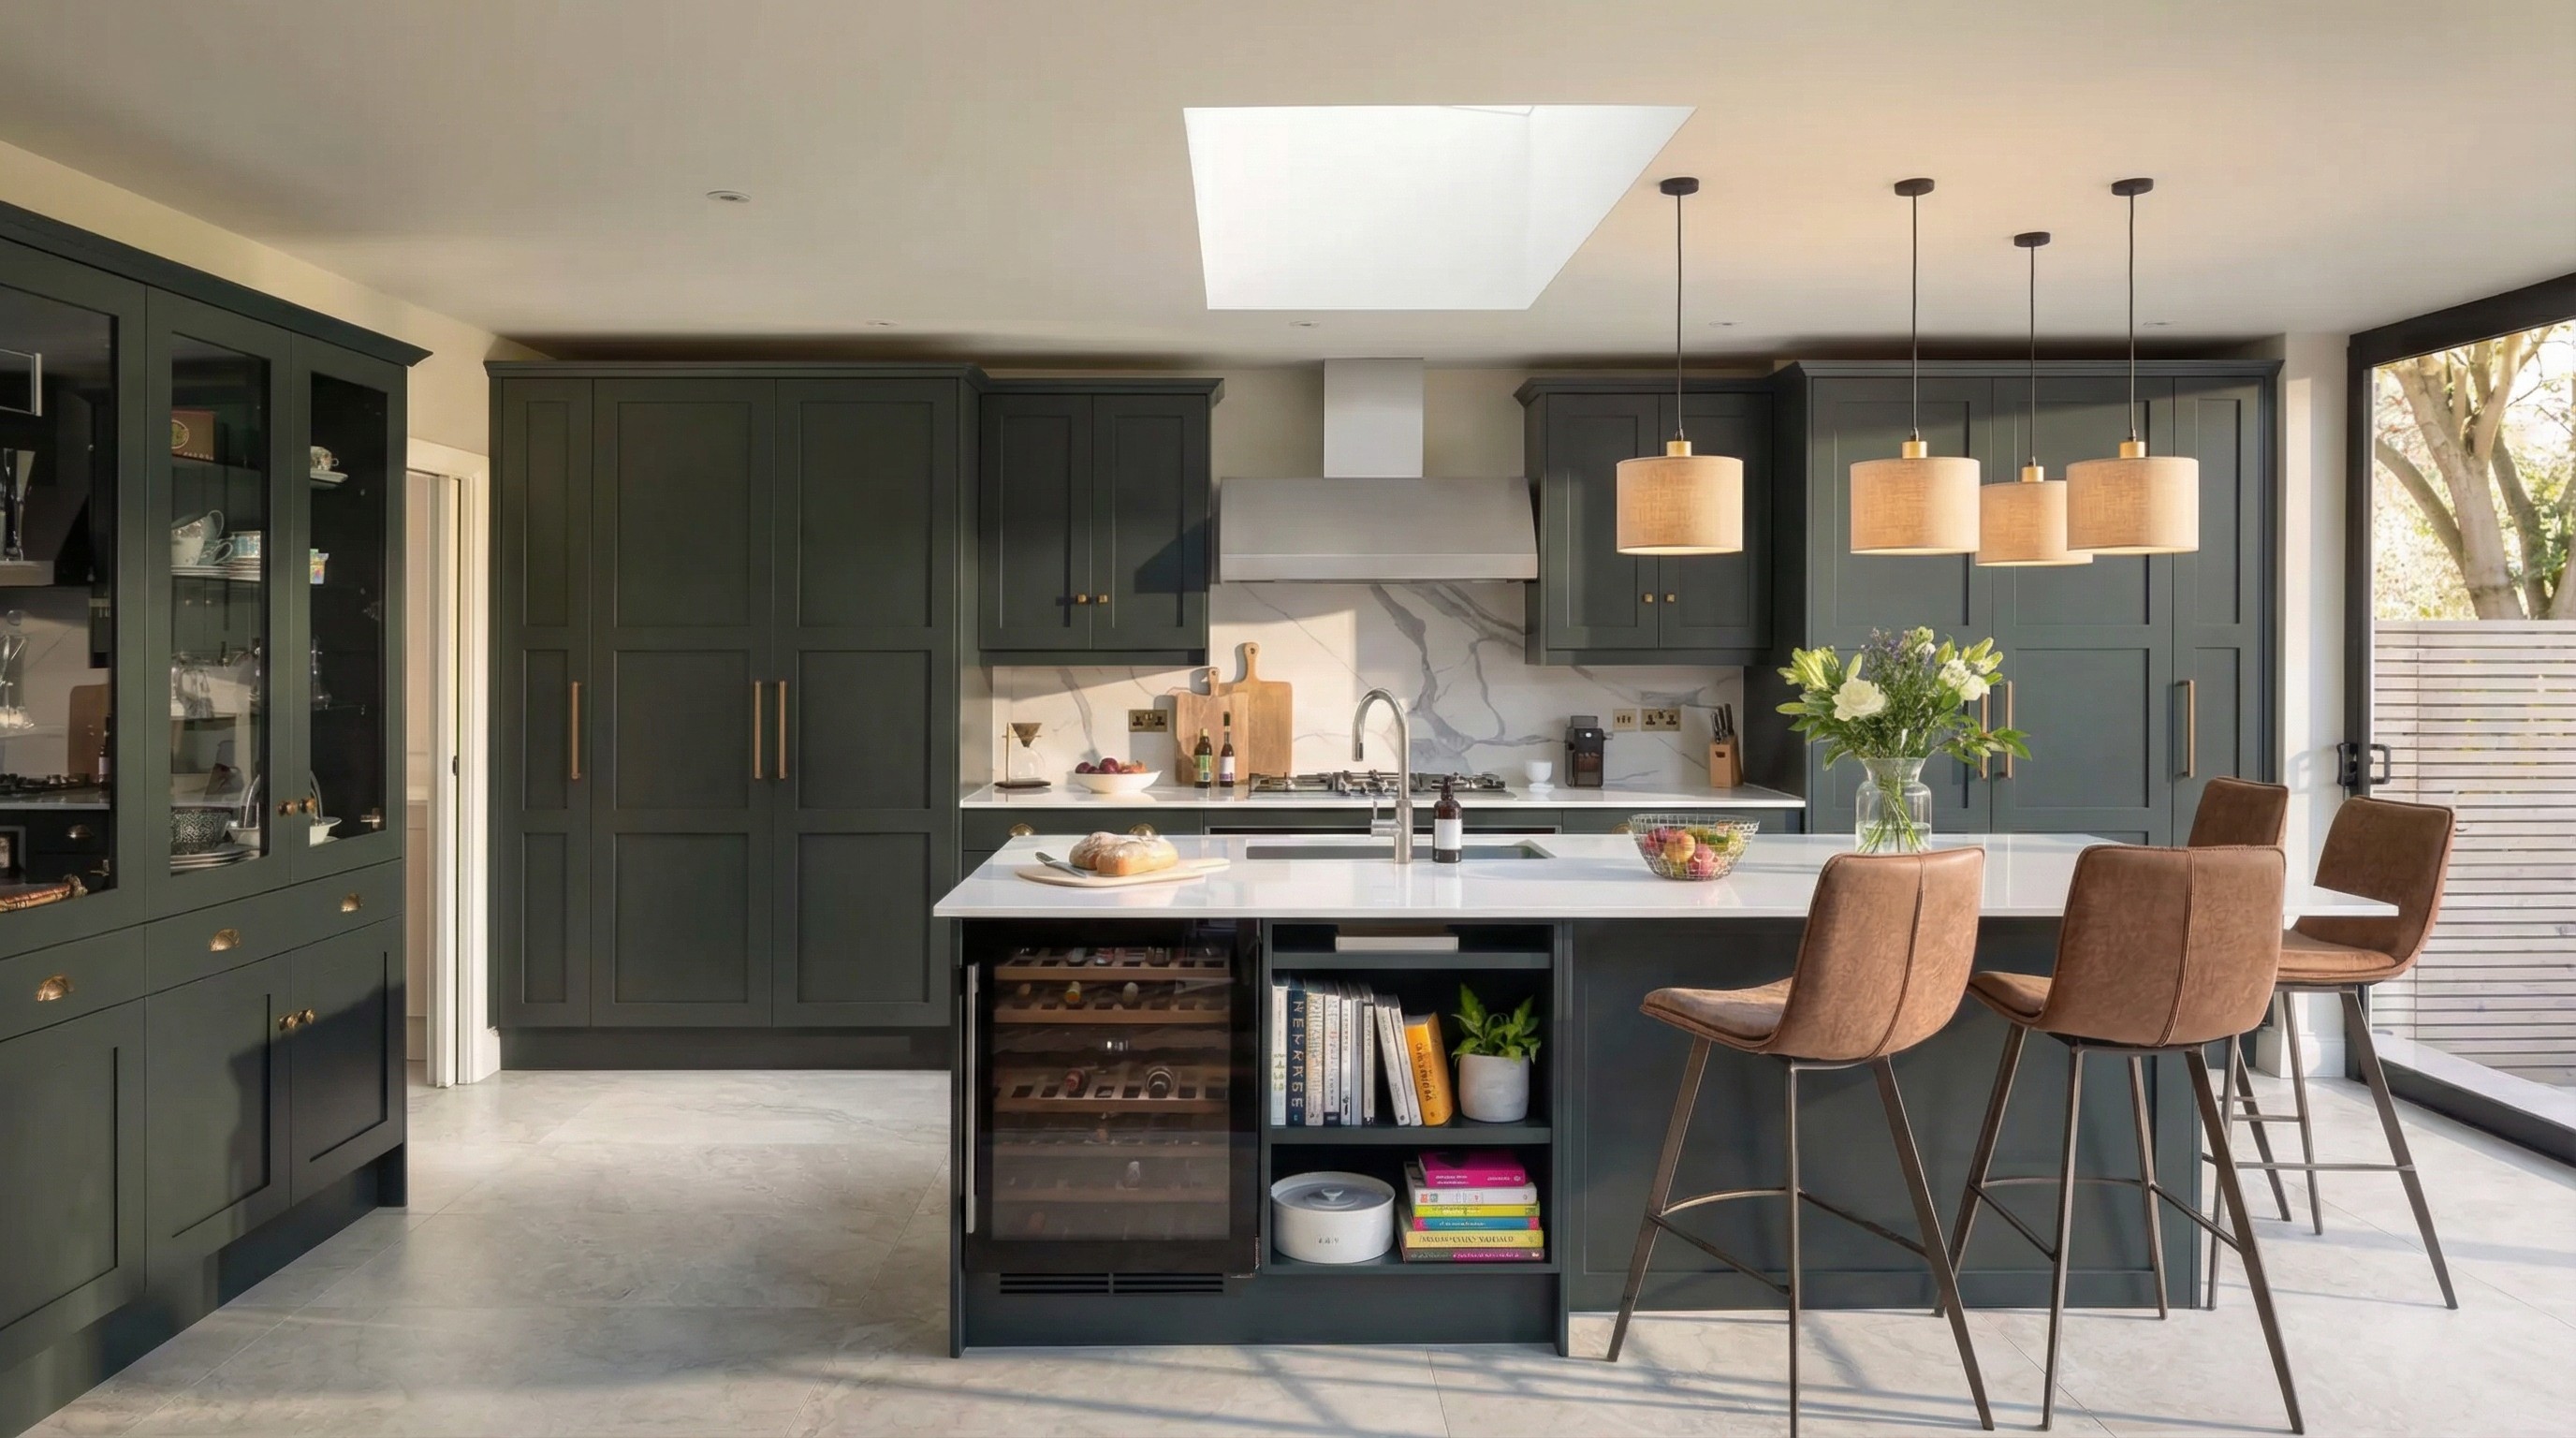
How to fit a kitchen – A Complete DIY Guide
The kitchen, often described as the heart of the home, holds special significance for many homeowners. Whether you’re an avid cook or simply love the communal aspect of a kitchen, it’s no wonder that it often becomes the prime renovation project in many households. In this guide, we’ll demystify the process of fitting a kitchen and arm you with actionable steps to create a space both functional and delightful.
Key Takeaways
A DIY kitchen fitting can take up to 6 weeks or longer compared to 3-4 weeks for a professional installation.
Choosing DIY over professional installation will save £1750 in labour costs on average.
Unless you are qualified it is strongly advised to leave electrical and plumbing work in the hands of professional electricians and plumbers.
Is it Easy to Fit a kitchen?
Venturing into kitchen fitting can be both exciting and daunting.
While the allure of crafting a kitchen space tailored to your tastes is tempting, the undertaking’s intricacies can deter some.
Deciding between the DIY route or a professional touch hinges on a few factors:
Time & Commitment: Do you possess the dedication and free time for such a project?
Skills & Tools: A basic knowledge of DIY and the necessary tools are fundamental.
Desire: Some prefer the hands-on approach, while others would rather delegate.
If the DIY path isn’t your cup of tea, plenty of alternatives exist:
Company–recommended Fitters: Many kitchen retailers offer or suggest skilled fitters.
Local Kitchen Experts: A neighbourhood expert might be just around the corner.
Multi Skilled Tradespeople: You’d be surprised at the number of electricians or plumbers with a knack for kitchen fittings.
When dealing with professionals communication is key.
Ensure that all involved understand their roles and timelines to ensure a harmonious project.
The Pros and Cons of Fitting a Shower On Your Own
Pros | Cons |
|---|---|
|
|
Sourcing the right materials is a key element of fitting a kitchen that often goes overlooked. Make sure you take the time to research which materials best meet your requirements in keeping with your available budget.
How to Fit Your Own Kitchen
Embarking on the DIY journey requires thorough planning. Let’s dive into the step-by-step guide:
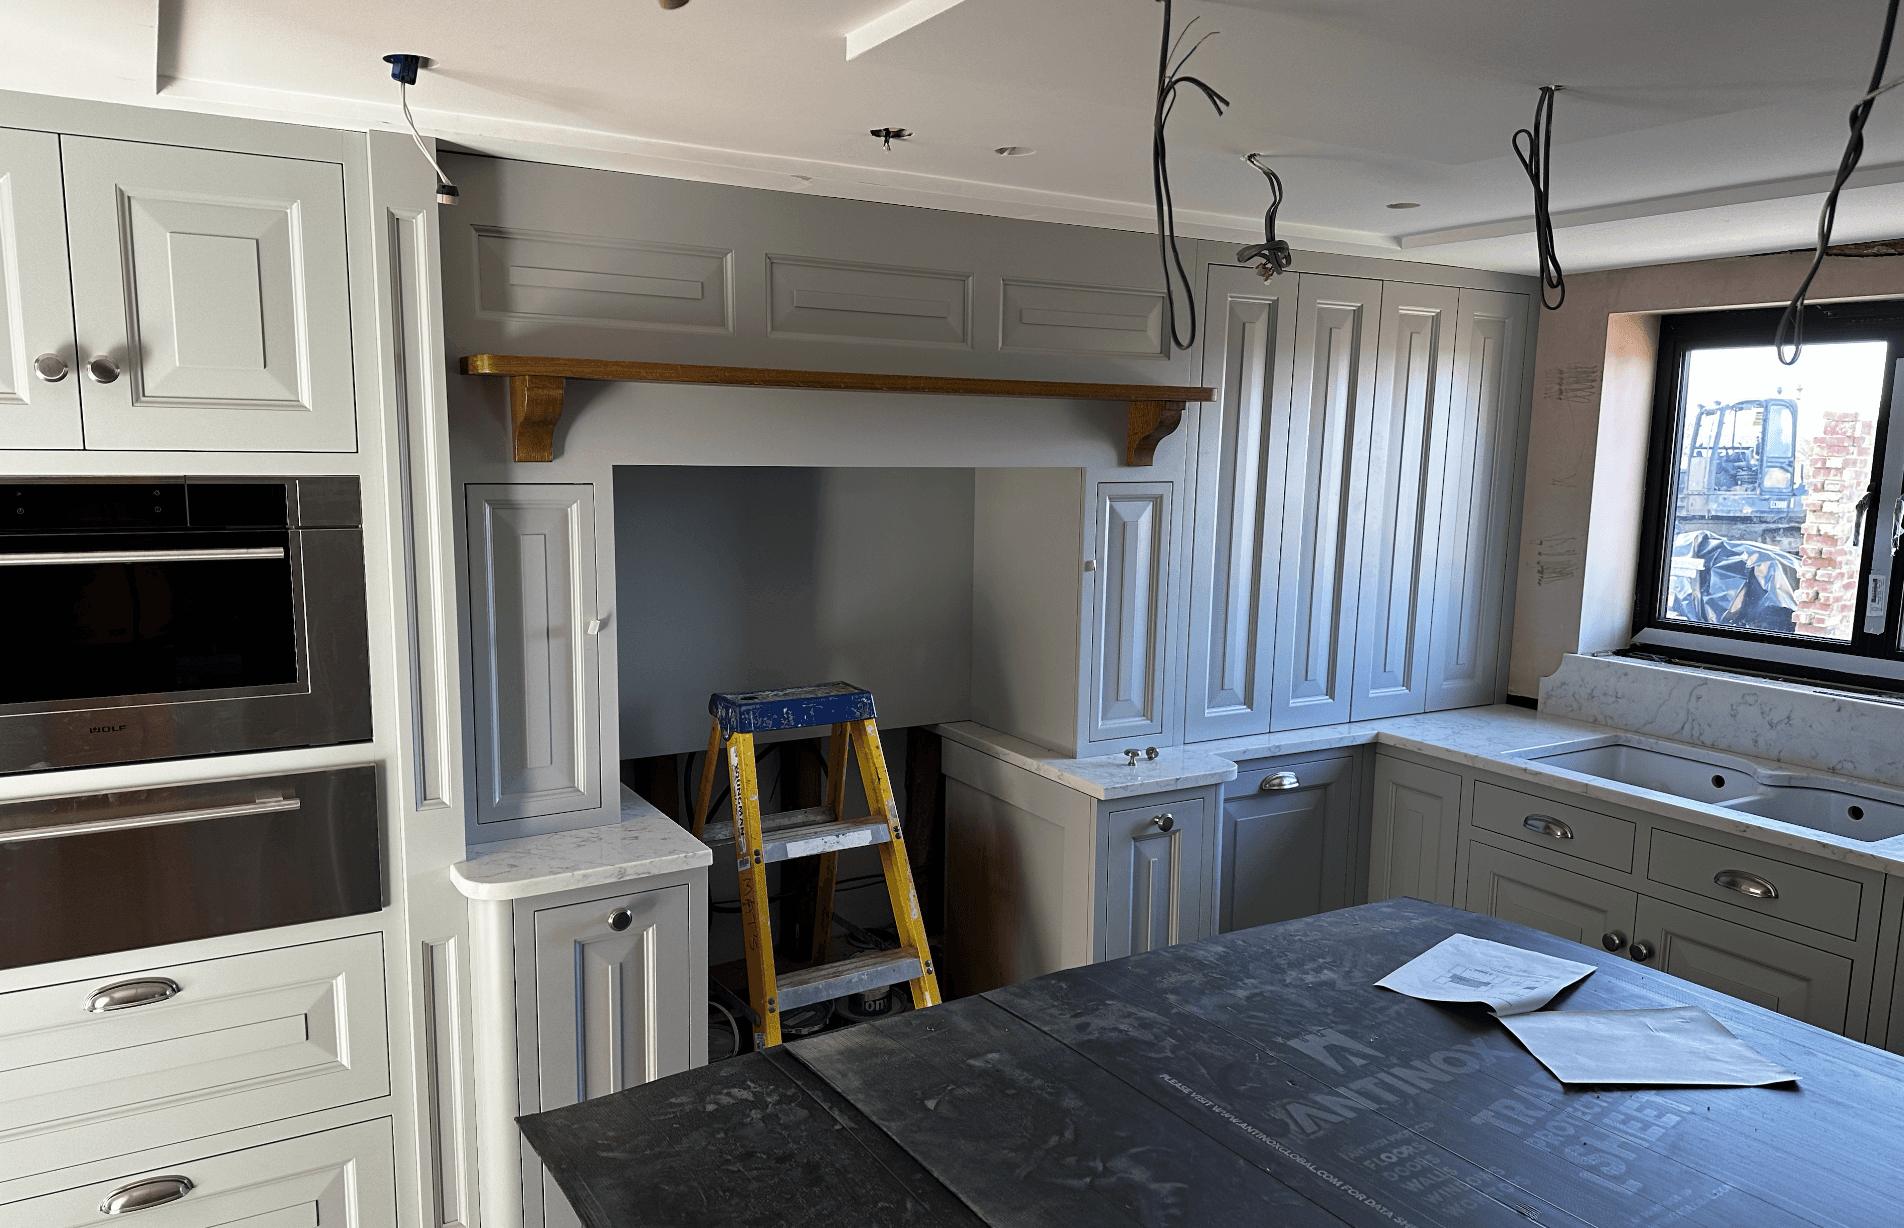
Step 1 - Remove the Old Kitchen
Start by dismantling the existing setup. Ensure that electrical appliances are safely disconnected.
Remove fixtures, cabinets, and countertops carefully to avoid causing damage.
Step 2 - Manage Pipework and Electrical Points
Safety is paramount. Before introducing any new elements, ensure that pipework and electrical points are correctly positioned.
While DIY enthusiasts can tackle minor adjustments, consider hiring professionals for complex electrical or plumbing tasks.
Step 3 - Restore Walls and Plaster
Prepare your canvas. Fix any damages on the walls, patch up holes, and ensure the surface is smooth and ready.
Step 4 - Measure Out the Space
Using a spirit level, measuring tape, and pencil, mark the desired positions of your new kitchen units on the walls.
Ensure you’ve considered the height of base unit legs, which might be adjustable.
Step 5 - Join New Units Together
Units need to be securely attached to each other. Typically, they are first clamped together, then screwed.
Ensure there are no gaps by using corner posts if specific corner units are not in use.
Step 6 - Secure the Base Units
Align the base units with the marks you made on the walls, ensuring a levelled placement. Once satisfied, secure them in place.
Step 7 - Affix the Wall Units
Start by marking the ideal position for the wall units, maintaining a minimum of 40 cm clearance from the worktop.
Once marked, fix the necessary brackets to the wall. After ensuring they’re level, hang the units securely.
Step 8 - Join Wall Units Together
Following the same methodology as with the base units, clamp and screw the wall units together. This ensures continuity and a seamless appearance.
Step 9 - Install Doors and Add-ons
This step adds character to your kitchen. Attach doors, handles, kickboards, plinths, and other fixtures, ensuring everything is aligned and functions smoothly.
Step 10 - Integrate the Worktop
Depending on your choice of worktop – laminate, stone, timber – the installation process may vary.
For laminate versions, adhere to the provided guidelines. For materials like stone or timber, consider specialist input for perfect fitting.
Step 11 - Final Touches
After setting up the main components, it’s time to integrate other elements like sinks, cookers, and lighting fixtures. Ensure these are fixed securely and meet safety standards.
By following this detailed guide, you’re on track to efficiently fit your kitchen and create a functional and aesthetically pleasing space.
These steps now offer a more comprehensive approach based on the information you provided.
Is it time for a new Kitchen Design in your Home?
Find Out More About Our Kitchen Design Services Today
Installing New Kitchen Flooring

Selecting the right kitchen flooring is crucial. The kitchen is a high-traffic area, often exposed to spills, heat, and moisture.
Consider materials like ceramic tiles, vinyl, laminate, or waterproof hardwood for durability and ease of cleaning.
Preparation
Before laying the new floor:
Clean the Area: Ensure the surface is free from debris, old adhesives, and any protruding nails or screws.
Level the Surface: Uneven floors can lead to cracks or damages later on. Use a levelling compound if necessary.
Underlayment: Depending on the chosen flooring, an underlayment may be required, especially for laminate or engineered wood.
Installation
Follow the manufacturer’s guidelines. Typically, it involves:
Starting Point: Begin in a corner and work your way out.
Spacing: Leave a small gap between the floor’s edge and the wall. This accommodates any expansion.
Cutting: For tiles or planks, precise cutting ensures a snug fit, especially near cabinets or doorways.
Finish with skirting or moulding to give a polished look.
Installing a Kitchen Island

Kitchens with an island are still one of the most popular kitchen trends and they show no sign of going out of fashion any time soon. For your own kitchen island you should:
Planning and Positioning
Ensure there’s enough clearance around the island for easy movement. The general rule is at least 42 to 48 inches of space around all sides.
Utility Connections
Decide if the island will have a sink, stove, or electrical outlets. If so, ensure proper connections are in place.
This might require professional assistance for plumbing or electrical wiring.
Base Installation
Most kitchen islands have a base made of cabinets.
Level the Base: Ensure the cabinets are level, making any necessary adjustments with shims.
Secure the Base: Once positioned, secure the cabinets to the floor using screws.
Countertop Placement
Depending on the chosen material (granite, quartz, wood), the countertop’s weight and handling will vary.
Ensure it’s evenly placed and secured to the base cabinets. Seal any gaps.
Final Touches
Add electrical outlets, sinks, or cooktops if desired. Consider additional features like a breakfast bar, storage, or overhead lighting to enhance functionality.
FAQs
How long does it take for an average person to fit a kitchen?
For someone new to the task, fitting a kitchen might span between two to six weeks, considering potential challenges. For professional installation you are normally looking at 3-4 weeks.
What should be on the checklist before starting a DIY kitchen fitting?
Ensure accurate measurements, have a clear plan, keep essential tools handy, and be ready for unforeseen challenges.
How do I ensure my kitchen fittings are safe?
Beyond following product guidelines, consider periodic checks and ensure that electrical and plumbing work meets legal standards.
Conclusion
Building the kitchen of your dreams can be an enriching experience.
With a blend of careful planning, dedication, and this comprehensive guide, you’re well on your way to crafting a kitchen that’s not just functional but also a testament to your personal touch.
If you are ready for a new kitchen, but uncertain about the prospects of going it alone, give us a call.
Is it time for a new Kitchen Design in your Home?
Find Out More About Our Kitchen Design Services Today